For as long as I can remember I have been doing my system builds, hardware and software configuration, testing, and experimenting of new machine builds in the case that I was ultimately going to build. While this was ok and fine for discrete builds, many times I found myself either waiting for a component, or otherwise stalled as I did not have all the components or software need to either begin the work, start benchmarking, or otherwise begin testing. I many instances I am usually anxious to start this work either before or concurrently in my build process.
I toyed with just having a spare machine to do this work in (and in all honesty did do this with an empty Corsair case I had laying around) but it was always a giant pain in the butt as it felt like I was doing twice the work for the same results. What I needed was something that would allow me to do this kind of thing much faster. To that end I have wanted a dedicated PC workbench for years. So I finally decided to break down and finally get one. Why now? I have a series of projects coming that I will want to spend a little more time doing some performance testing, configuration iterations, and experiments on just how far I can push things. This would include some of my bigger upcoming projects like revisiting my home NAS solution, the potential launch and inclusion of the NVidia 40 series cards in my main machine and more.
In order to do it right though I have to have a solid performance workbench. one that allowed me to swap out components easily and quickly, but also allowed me minimize the amount of time and more importantly consistently test my builds. After some exploration I decided on getting the Praxis Wetbench from Primochill. Its been out for a couple of years and by all accounts it is a great open air bench that fits all of my use cases.
So I thought it might be interesting to document the build process of the bench itself (it’s likely something most people would not have experienced), and add some color commentary. If nothing else it may help someone out there if they are looking for additional insights on the build itself.
TIP ONE: WATCH THE YOUTUBE VIDEO
It may seem like a natural thing to do in this day and age – but the online build video from Primochill on the Praxis is done really well. Yes, the bench comes with a little instruction booklet which is also very well done, but if you are an experiential learner like me, seeing it done physically is very helpful. The video is just the right blend of detail and high-level movement through the process. So for purposes of this post, I am going to assume for the most part that the reader will have at least watched the video. This is really meant as extra color and and additional documentation of what I saw and experienced. At the very least I can call out any extra little gotchas or things to look out for at each step.
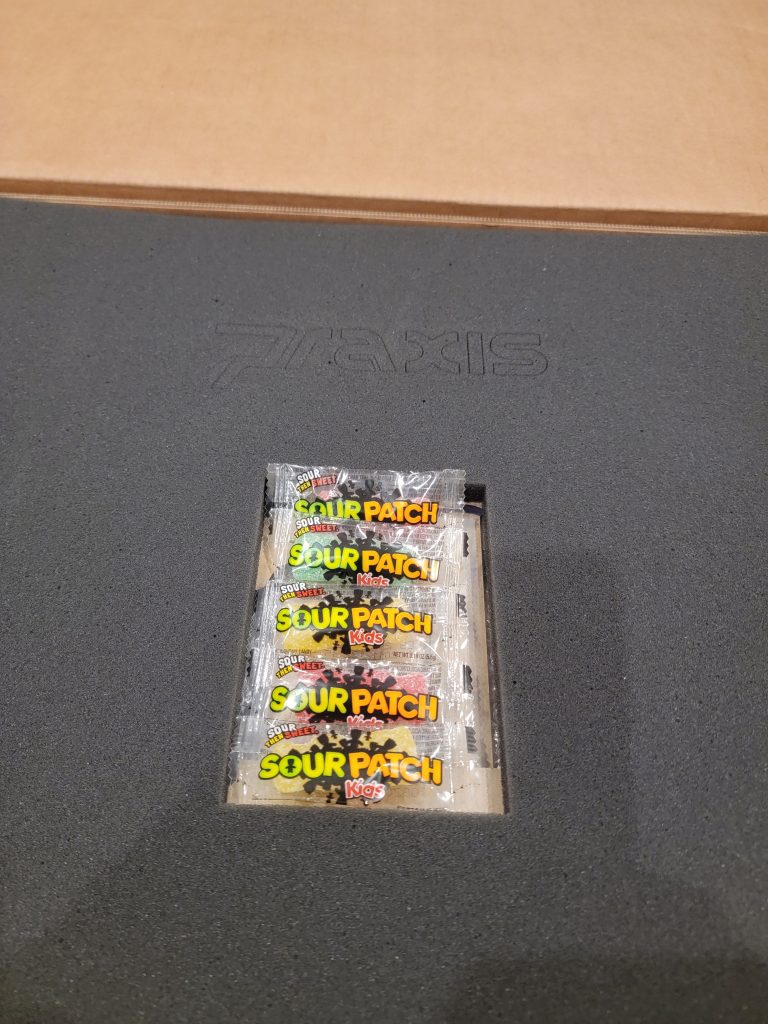
I would also like to call out how well the packaging of this product was done. The components were well protected, tightly packed, and done extremely efficiently. There was no unused space from top to bottom. Each metal component was individually bubble wrapped, the plastic inserts had a protective coating on them (more on that later), and the organization around the various screws, washers, inserts, stand-offs was impressive as well. In a pleasant surprise and spoiler alert – the folks at PrimoChill know that it may take some energy putting this puppy together and have you covered there as well. The addition of some Sour Patch Gummies (also expertly packed) was just the kick-start I needed for this build. Although most of it was stolen by wife and other passers-by.
Honestly though its this kind of stuff that creates real brand loyalty and trust. I know it put a big smile on my face.
Step One: The Side Panels
Ok lets just into the build. I can be a bit of an organizational nut so my first step is always just preparing for the build. All screws over here, put the washers and nuts there as well. Put all the pieces down and organize them in the order for which I will likely need them, etc. Follow your own obsessive compulsive strategies and then lets dig in.
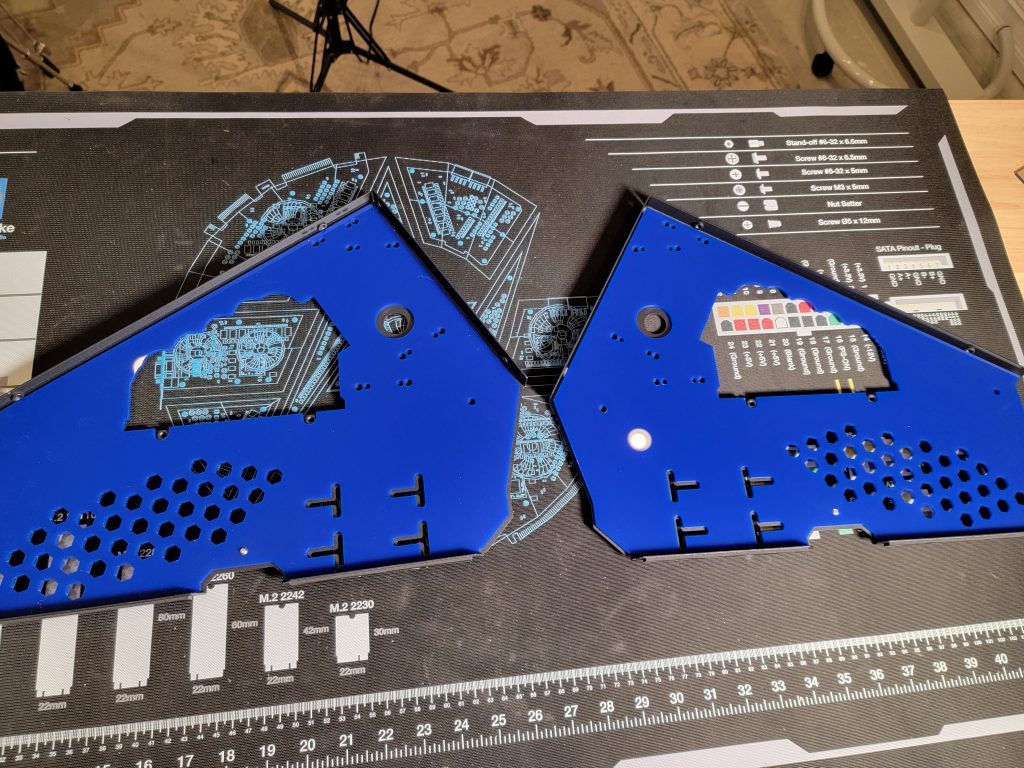
The first step is essentially connecting the plastic inserts into the side panels. Pretty straightforward and you only need a single screw for each panel. The hardest part of this entire step is getting the brown paper/adhesive off the plastic inserts. If you are cursed to have no fingernails like me, this may take you awhile. I know there are some folks who have a real thing for the sound and tactile feedback of peeling stuff off of things. But that is not me. Don’t get me wrong, the packaging is great and the plastic was blemish free. I just picked at it a long time. I’m sure there is some pro-tip out there for this kind of thing but I dont know what it is.
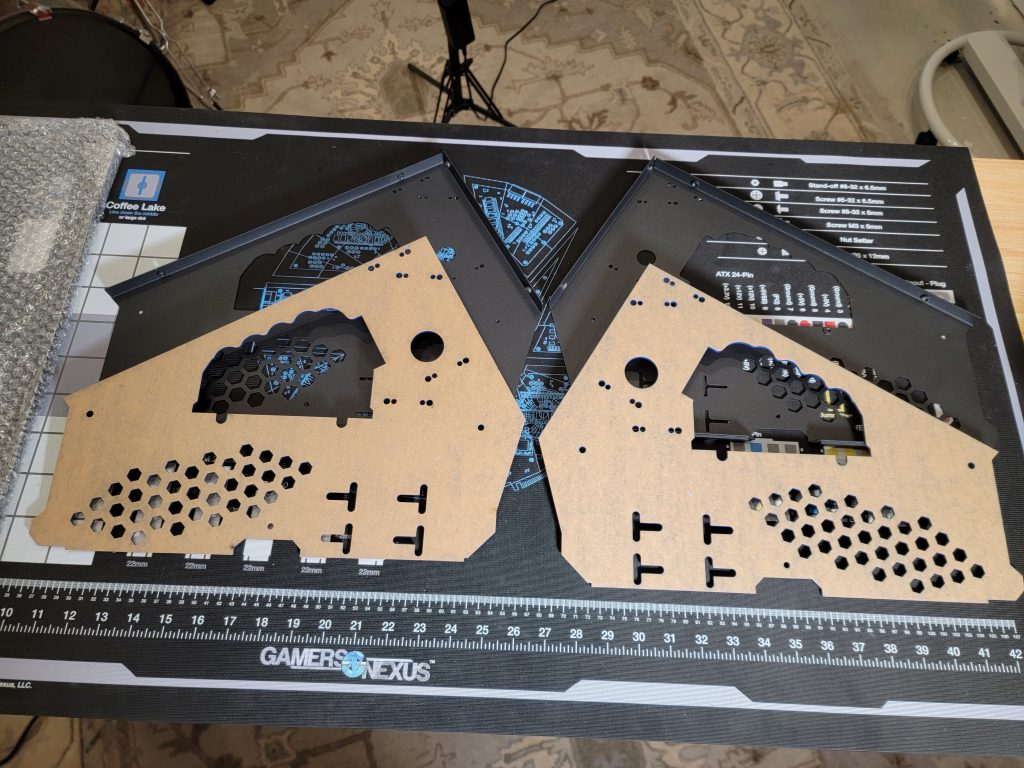
After you manage to get the brown paper adhesive off this assembly is a snap. The inserts lie perfectly in this space and its an easy process to apply the screw, washer and cap.
Step Two: The Middle Shelf and Side Panels
Now that the side panels are together, grab the middle shelf. One would think that this step would be pretty easy. It is. But there is a little trick. The middle shelf as a small section in the middle which extends a little farther than the rest of it. You will notice that each of these sections has a lip. This is meant to go through the side panel. This can take a practice run or two but its not too bad. Once you get it just right its just like folding the legs out and the middle shelf snaps firmly into place.
Once in the right shape, be sure to security that middle section with the screws, washers, and caps. I found that the machining of the parts and tightness of the fit at this stage was extremely well done.
Step Three: Adding Additional Brackets and Components
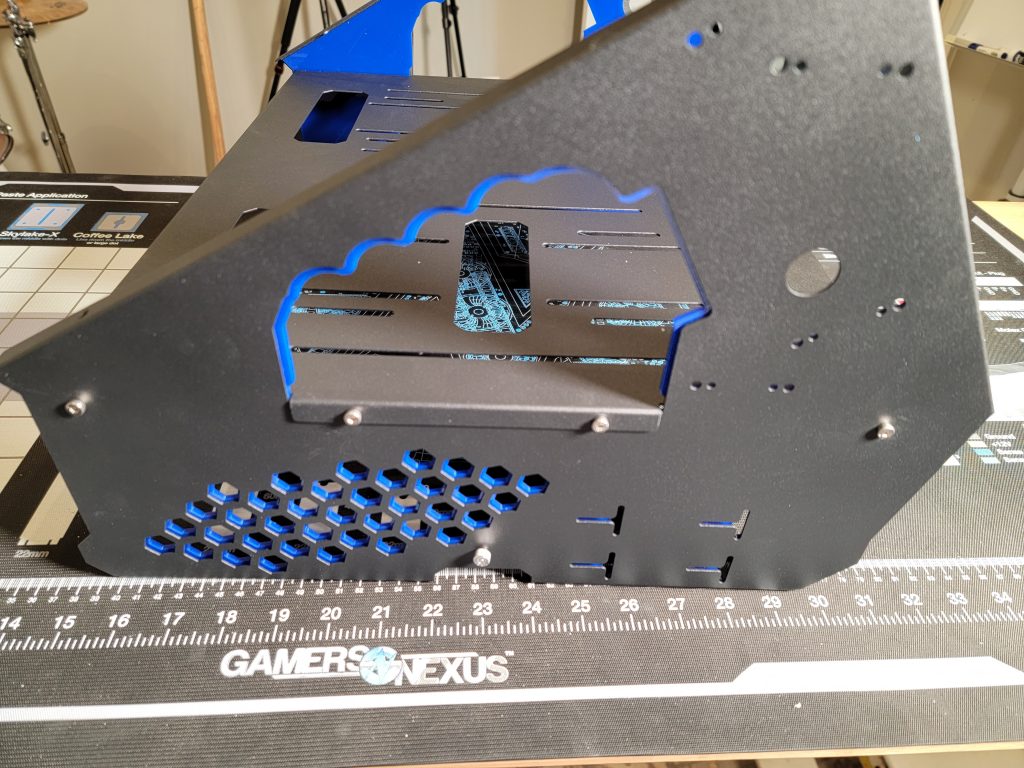
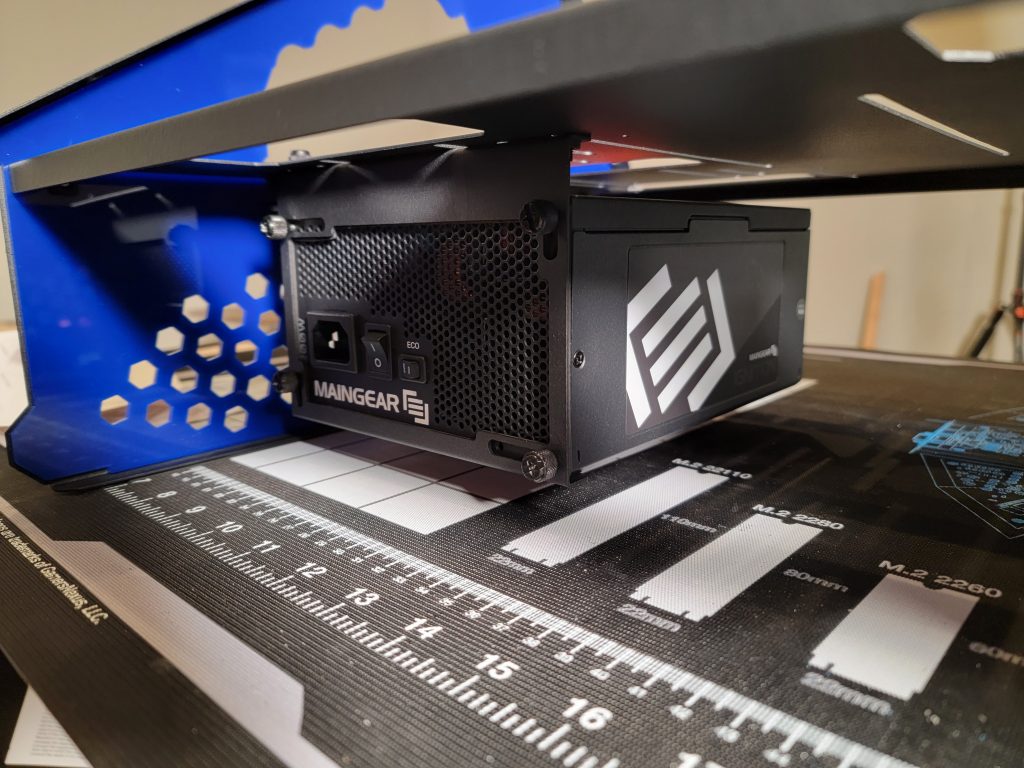
The next step involves adding the additional component brackets and components. The directions (in the booklet) assume you have this stuff ready to go. Luckily I had a spare Power Supply Unit and SSD for this installation step. There is ample opportunity to mount this kit in whatever configuration you feel most comfortable with. In some cases you may need to get creative on the mounting depending upon the size and configuration of power supply for example. There is a high degree of configuration freedom here to ensure that the end design works for you. In my case I ended up mounting one side along the length, and the other across the back due to peculiarities of my device. Regardless the mounts hold the equipment very steady and I was pleased by the work. This is one of those things where you may want to wait until you have your power supply ready to go so that you can ensure a good working fit.
Th second component installation involved the hard disk. The bench shipped with a few mounting brackets for hard disks and optical drives. Presumably this would allow you for a quick install/de-install of the components if you needed to. In my case I plan on running a dual boot Linux/Windows configuration so I mounted my drive directly to the rig. Still, I am keeping the other brackets handy as you never know when you might need them.

Step Four: Top Shelf installation
Putting the bench aside for the next step we move on to the installation of the top shelf. Following a similar set of instructions you followed on the side panels, I found it easiest to flip the top shelf upside down, align all the bits and then attach the screws and caps one by one. Again, you will have to deal with the brown paper adhesive. That was probably the longest part of this step.
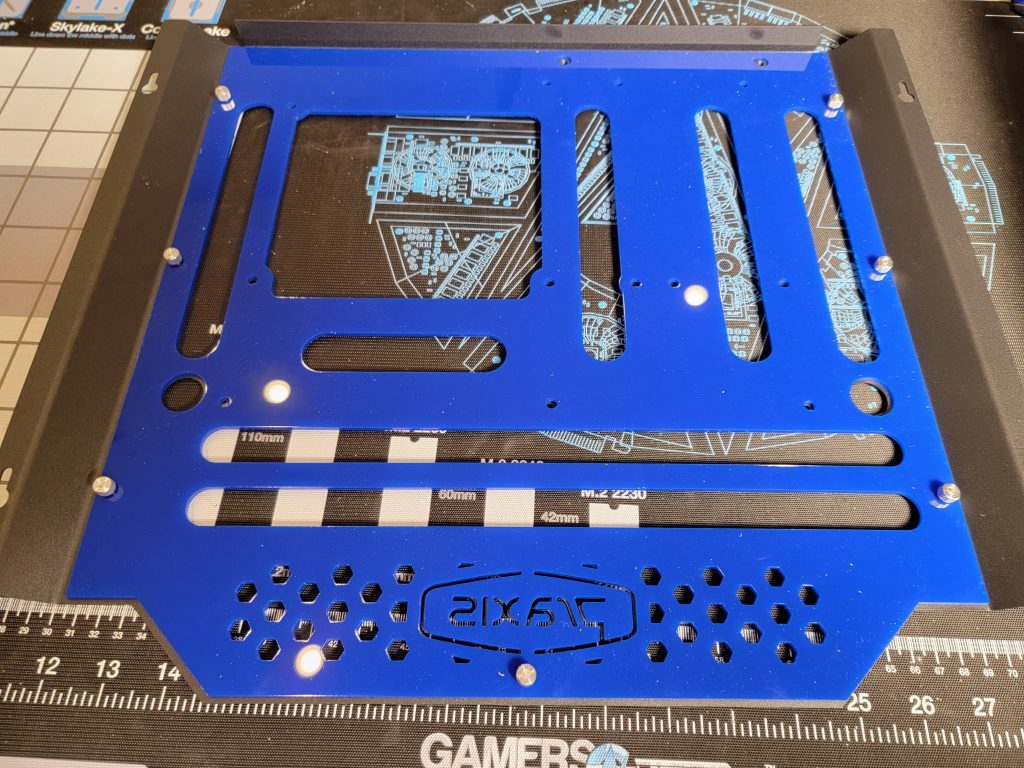
As you know, my blog is called Loosebolts for a reason. You will need to keep the bolts loose on this part of the installation as you will definitely want to ensure proper alignment of the insert to the shelf for maximum beauty and part alignment before you tighten those things down.
You should also make note of the orientation of the screw caps for the top shelf. Ensuring that there is the lowest possible profile before you move on to the next step.
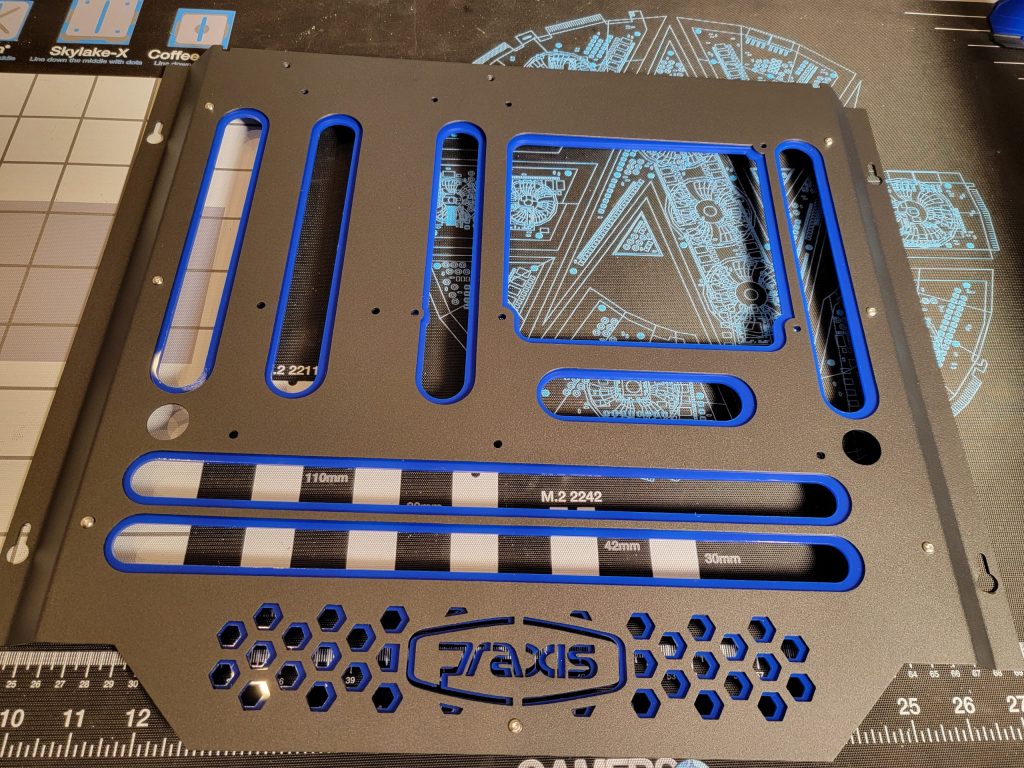
Step Five: Inserts and Top mounting Installation screws
Once you have the insert and top shelf fully assembled you will then move on to the installation of the motherboard stand-offs. The Praxis Wetbench comes with nylon insert spacers as well as the posts themselves. Its not too bad an installation. I found it easier to install all of the posts and loosely connect each spacer and post then go back and tighten them all to a snug fit. Just a personal preference.
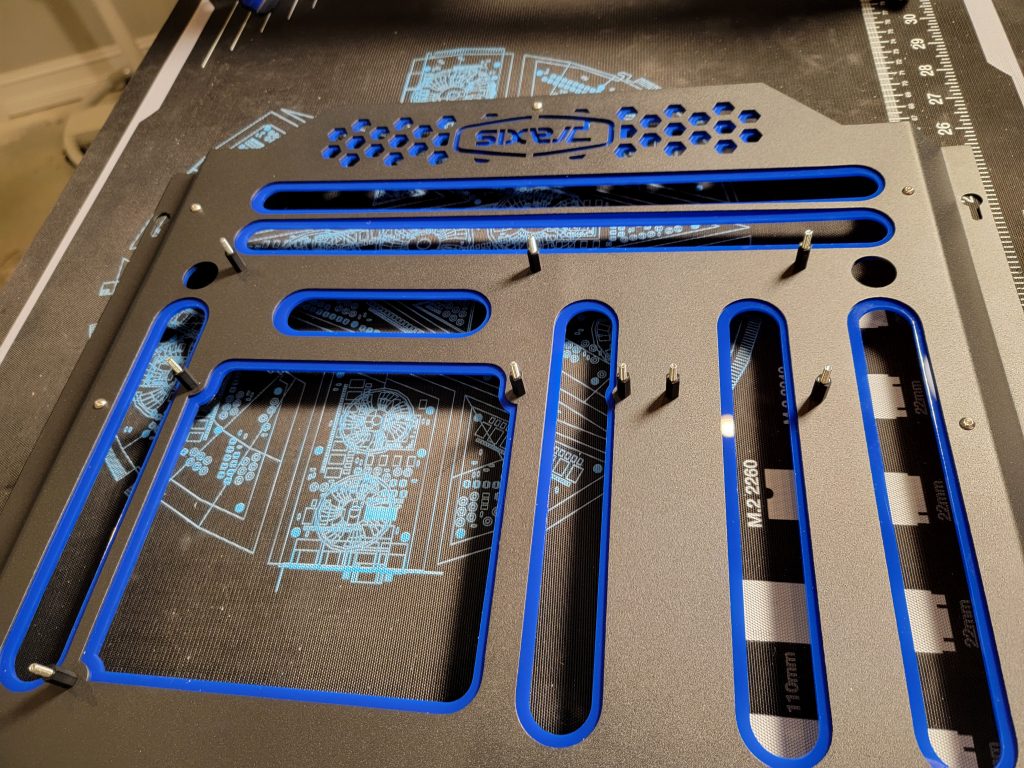
Once all of the Motherboard posts have been installed, its a simple matter to attached four flat top screws for the final placement of the top shelf upon the frame. The trick here is to install the screws just deep enough for you to feel it poking through the bottom. That is to say, do not tighten them all the way down. The top shelf is meant to ‘slide’ on to the top and be easily removable for you to quickly change out options if need be.
Step Six: Top Shelf Installation & Final Touches
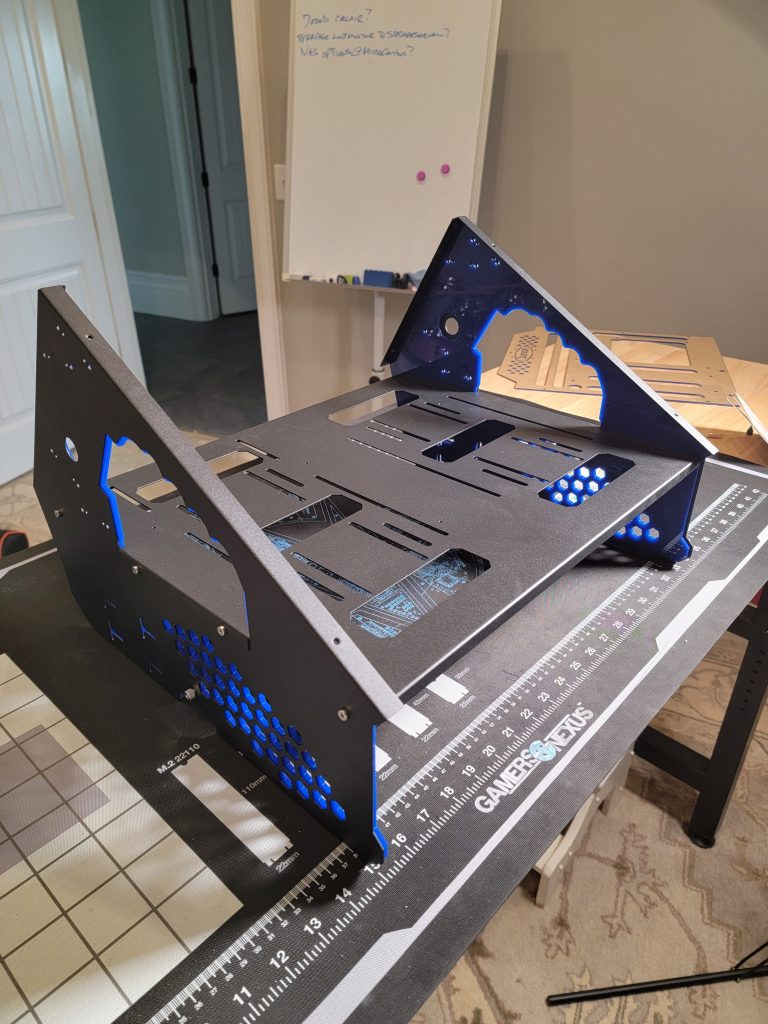
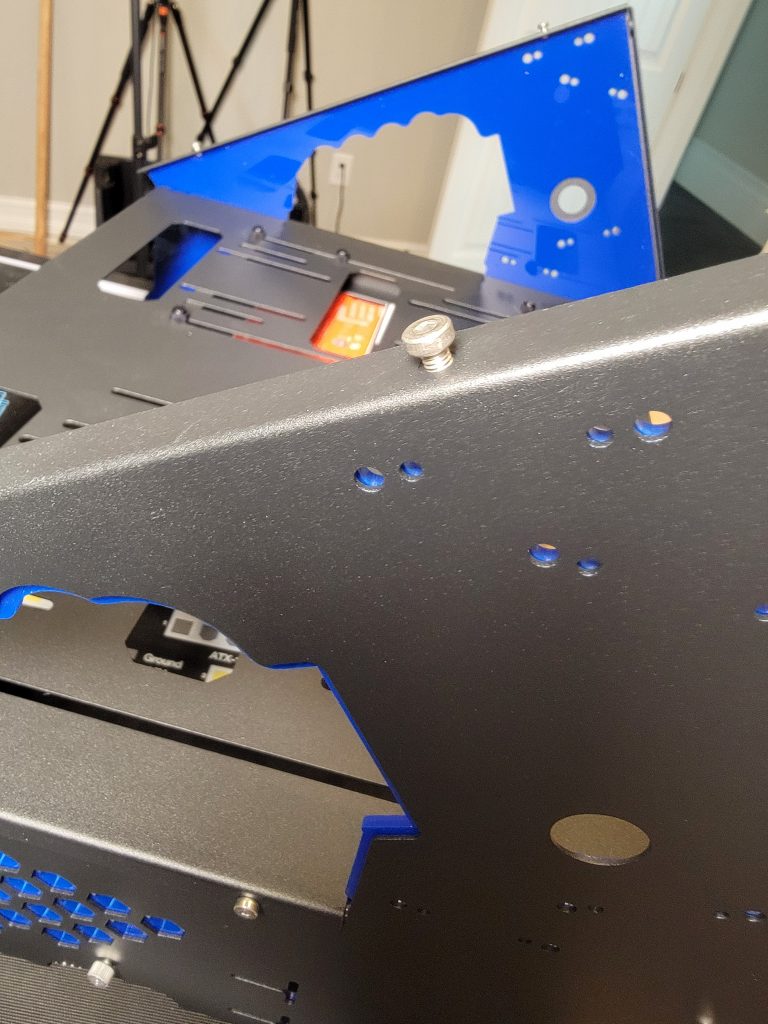
Once the screws are in simply align the larger circular hole on the the sides of the top shelf and slide it down until it is in place. You can see the mechanism in the photo below from a side angle. One it has slid into place you will immediately notice that this rig is SOLID.
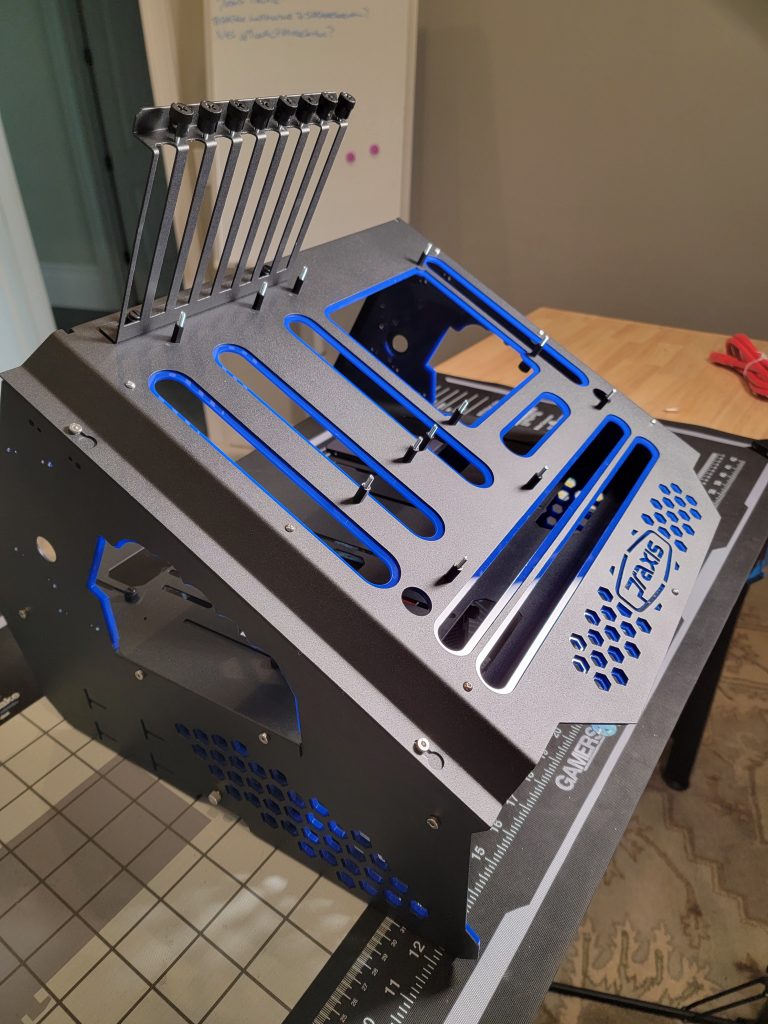
One thing I forgot to mention was the installation of the peripheral guides. I actually did this before I slid the top shelf on the the rig. Its pretty straightforward and there are only two screws to attach it to the top shelf. One thing I loved about it however, is that you can slide this mechanism to the left or right depending on the alignment of your motherboard. It is definitely a nice little feature that showed that the attention of details to the little things matter.
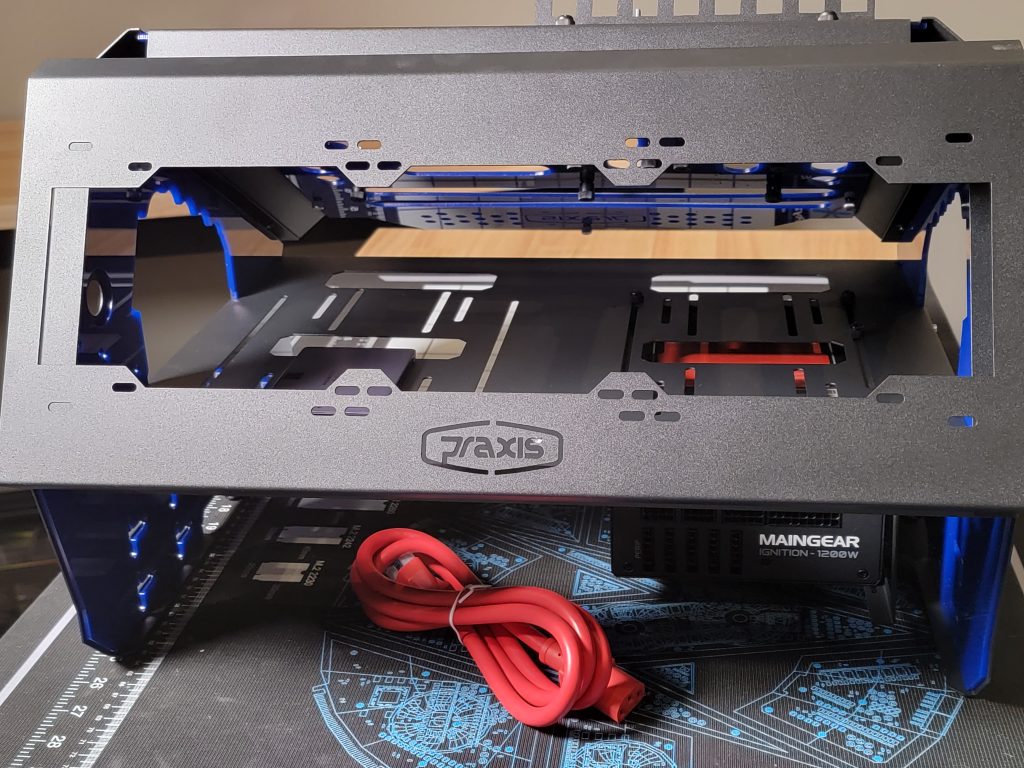
We are almost done. Kind of. Below you can see the heads-on view of the unit after the main body of installation.
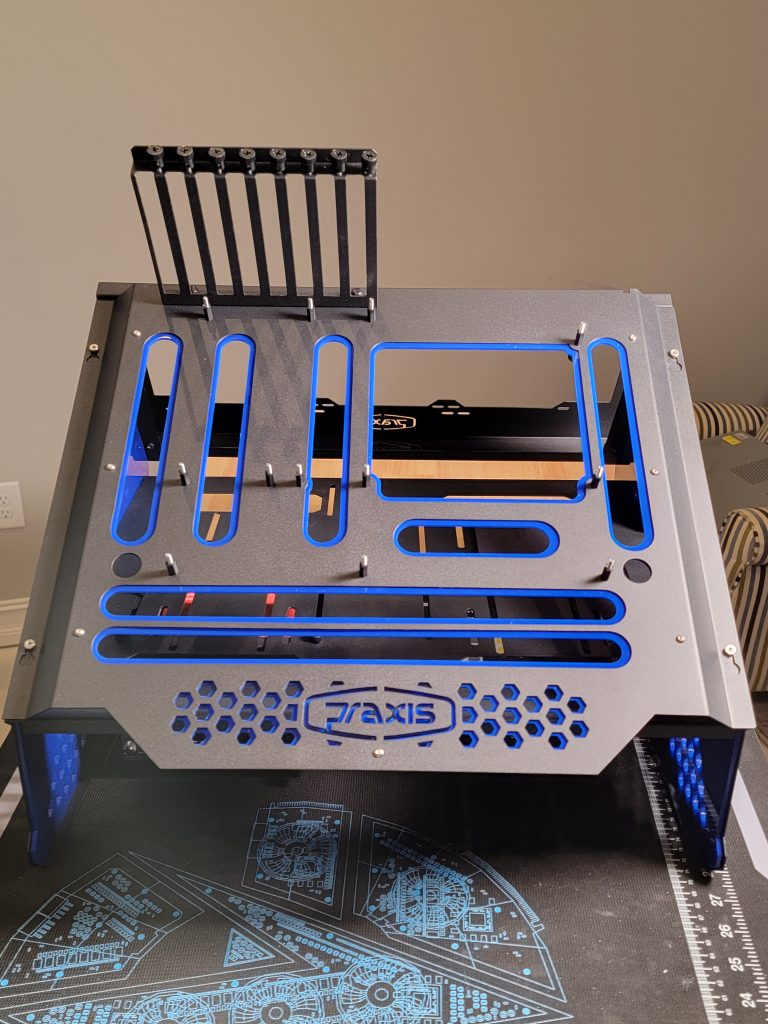
The reason I said ‘kind of’ is because we had not installed the optional radiator mounting bracket. No that is not the ‘back’ of the bench (although technically speaking it could be called that). One of the benefits of this bench is that you can install a water pump and reservoir, or AIO. There are plenty of mounting positions as well as this dedicated radiator bracket. I did install mine as well. I have two EKWB 480mm radiators in my shop, but they would look ridiculous on this rig (too large) plus I do not have a spare reservoir or pump to install at this time. They will be part of the ultimate configuration here just not today.
So as it stands right now the bench itself is complete. I still have to finish out the water cooling build out but for the most part its complete. I now need to find and install a good, solid motherboard by which I can test the various components, complete the OS configs for dual boot environments, load up all of the benchmarking and performance testing software, and the like. So while the physical bench has been assembled, I still have more work to do on the virtual components of the bench.
Hopefully this proved interesting to folks.
\Mm